Want to make a candle vessel of your own? This guide walks through the complete project, from a silicone mold to a sealed jar and a tested candle. It is a learning resource from SJS Homemade in Evansville, using published supplier guidance—not a claim that one recipe works for every concrete mix or finish.
GET YOUR BENCH READY
What you’ll need
- A reusable silicone candle-vessel mold with an inner core
- A suitable fine casting mix and its current technical data sheet
- A gram scale, clean water, dedicated mixing container, and mixing tool
- Optional cement-compatible pigment within its supplier’s limit
- Eye protection, suitable gloves, protective clothing, and dust controls
- A candle-vessel sealer matched to the chosen casting material
- A soft brush or sponge, a small separate sealer cup, and a drying rack
- A dedicated water-test sample, tray, and absorbent paper
- Container candle wax, candle-approved fragrance, and compatible wicks
- A wax pouring pitcher, controlled heat source, thermometer, wick tabs and holders
- A notebook, ruler, timer, and temperature-measurement equipment for testing
Watch the process
Watch: casting a concrete candle jar
A visual demonstration of preparing a silicone mold, mixing, pouring, releasing bubbles, and demolding a vessel. Published in 2023. Use the current mix manufacturer’s water ratio and curing directions below; do not copy the video’s water quantity as a universal recipe.
Watch on YouTubeWatch: sealing a concrete candle jar
A demonstration of a dip application with an older Earth Safe Finishes Quick Dip product. Use it to understand the handling technique. The current Candle Crete Sealer has its own application and cure instructions; the older video is not a substitute for its label.
Watch on YouTubeBefore you begin: three different cure stages
Plan this as a multi-day project, not a one-afternoon craft. Casting, coating, and candle wax each have a separate readiness check. A jar that can be demolded is not automatically dry enough to seal, and a coating that feels dry is not necessarily fully cured.
| Stage | Ready for the next step when… |
|---|---|
| Casting mix | The mix has completed its required curing process and meets the sealer’s dryness requirement. |
| Sealer | The exact product has completed its specified cure, with no tackiness or defects. |
| Candle wax | The wax has completed its supplier’s cure, and the finished design passes its full burn test. |
1. Set up your workspace and mold
Cover a level bench and keep the mold stable. Wear eye protection and suitable gloves; manage cement dust according to the mix’s safety data sheet, including appropriate respiratory protection where required. Use dedicated tools and keep this work away from food preparation.
Choose a vessel mold whose wall and base dimensions can be assessed for your candle design. Inspect the inner core and support it as the mold supplier directs. Start without pigment so there is one less variable to troubleshoot. A mold marketed for candle jars does not by itself certify the finished candle.
2. Measure and mix the casting material
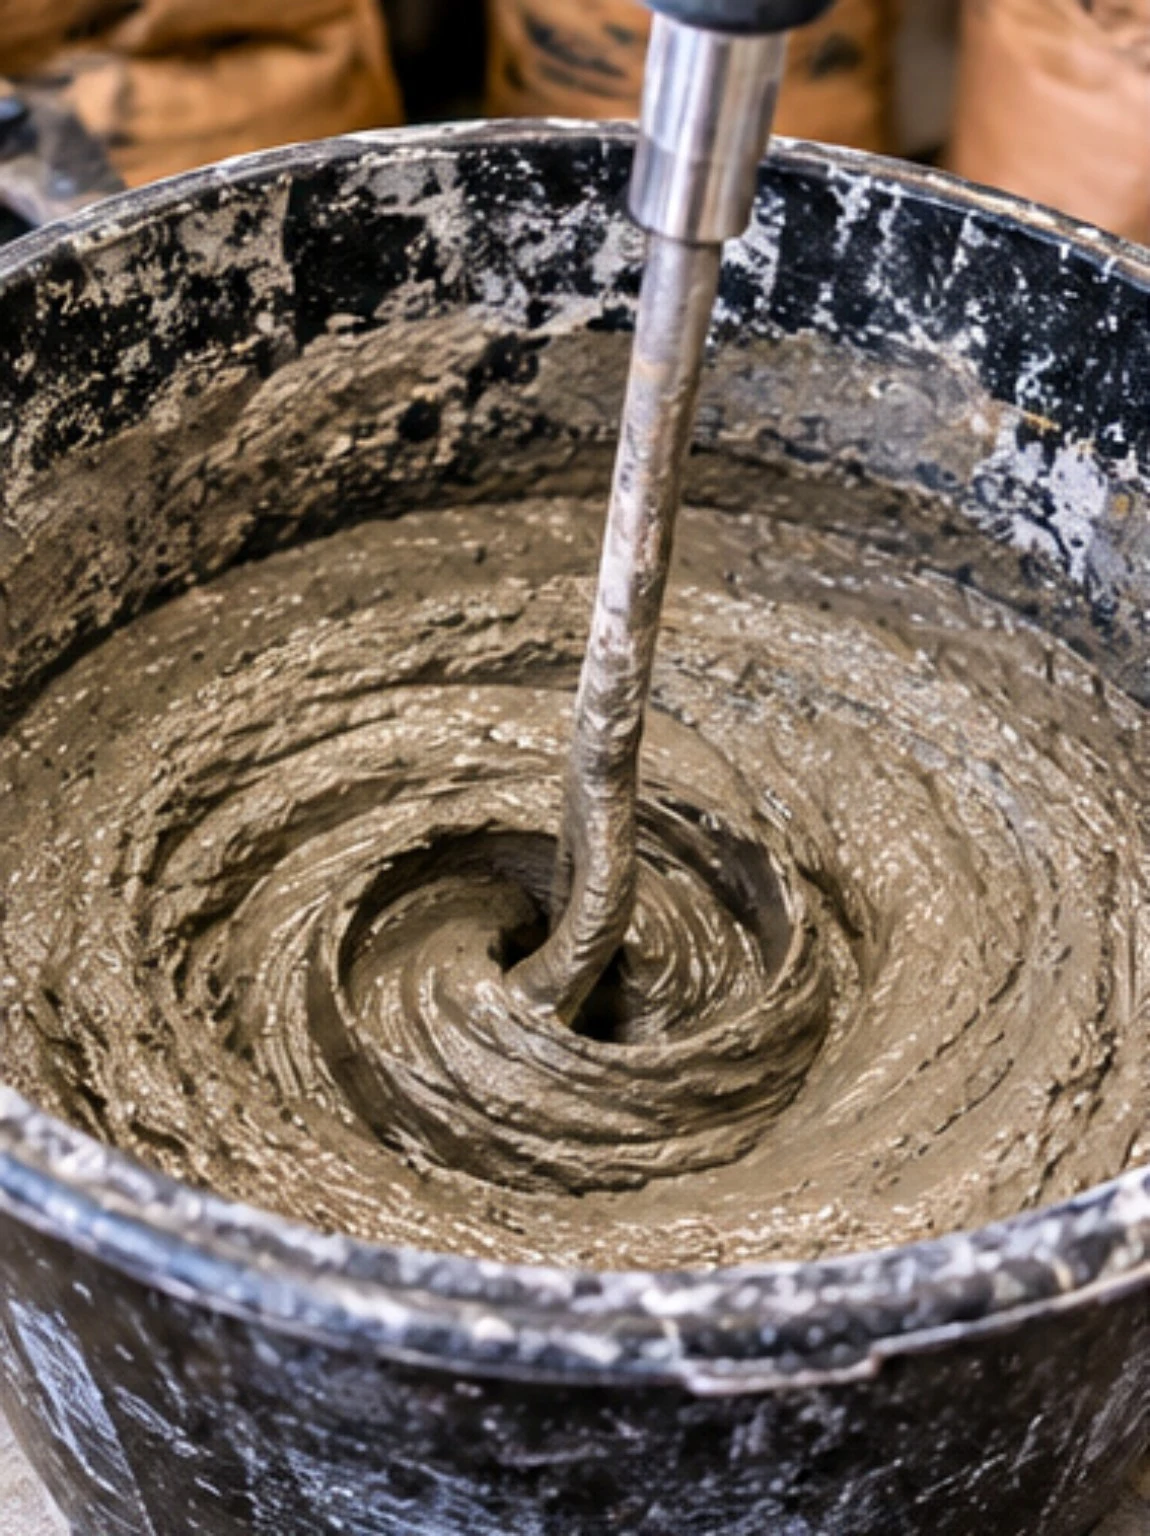
Follow the exact product’s current data sheet rather than a generic “four parts concrete to one part water” recipe. Cement All, Portland-cement blends, gypsum, and acrylic-mineral casting systems are different materials.
Example for Rapid Set Cement All: the current sheet gives 2.8–3.5 liters per 25 kg for critical applications, with a 4.7-liter maximum for general or high-fluidity use. Scaled to 1,000 g of dry mix, those quantities are about 112–140 mL of water, or 188 mL at the stated maximum. This is a calculation from that sheet, not a candle-vessel approval.
For that product, add powder to measured water and mix to a uniform, lump-free consistency. Do not add water later to revive material already setting. Confirm the current label before using the example.
3. Fill the mold and release trapped air
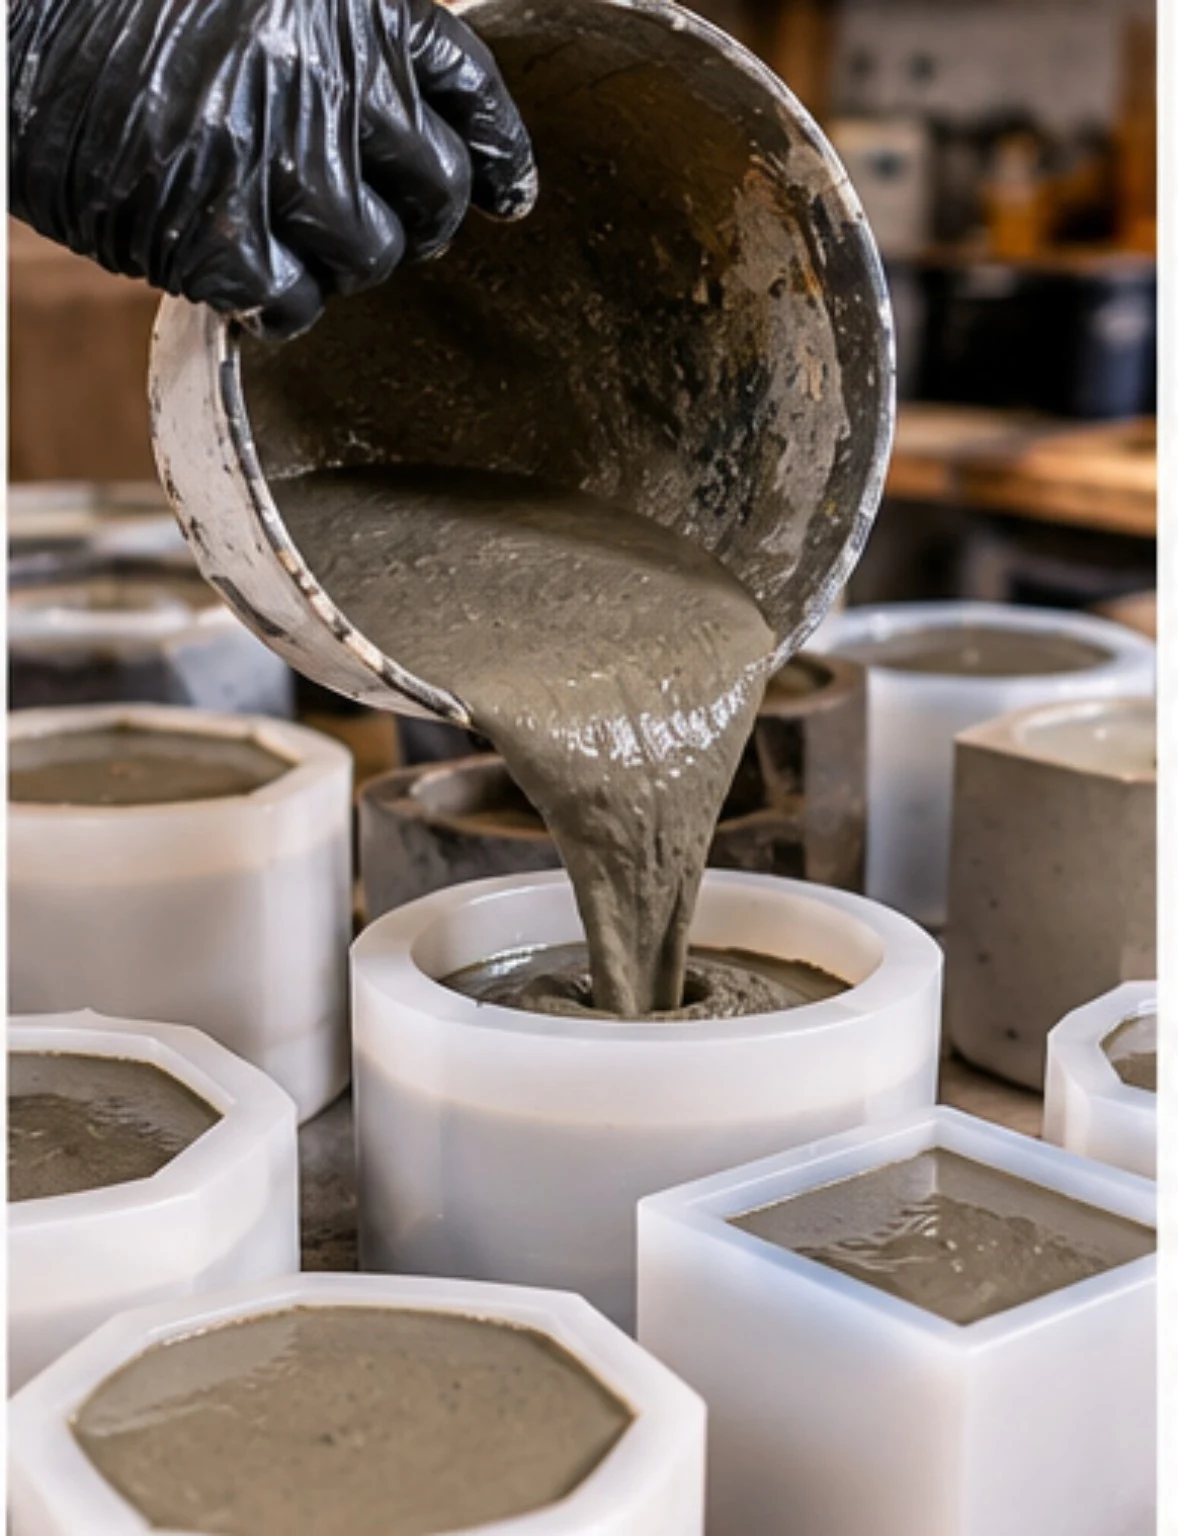
Pour steadily into the prepared mold, working around the inner core. Gently tap the mold or use controlled vibration to help trapped air rise. Keep the core centered and the mold level; do not make the walls thinner just to save material.
Label the sample with the mix, water quantity, pigment, and date. Photograph it before demolding so you can compare later attempts. For a first project, a few repeatable plain samples are more useful than a large batch of different colors.
4. Cure, demold, and inspect the jar
Follow the casting material’s curing directions before peeling away the silicone. Support the vessel instead of levering against a thin rim. For Cement All, CTS specifies at least one hour of water curing beginning as the exposed surface starts to harden; colder conditions can require longer. This is separate from later drying for the coating.
Inspect the wall, inside base, and rim. Set aside cracked vessels or ones with holes that pass through the wall. Do not use sealer as a structural crack repair. Finish rough edges only with dust controls appropriate to the material, then remove debris.
Allow the piece to meet the sealer’s substrate and moisture requirements. A surface color change or a fixed number of hours alone is not a universal dryness test. Ask the sealer supplier when you are unsure.
5. Choose a sealer intended for candle vessels
The inside coating needs to suit both the porous material and the intended candle use. Do not choose a patio sealer, craft varnish, or epoxy only because it is described as waterproof, food-safe, or nonflammable. Those descriptions do not establish performance in a burning candle.
Earth Safe Finishes markets Candle Crete Sealer for concrete candle vessels and describes it as water-repelling. Water-repelling is not a guarantee that a handmade jar holds standing water indefinitely. Laframboise’s candle-vessel sealer guidance also states that sealing does not make a vessel fireproof or replace wick testing.
6. Seal the inside and allow a full coating cure
For an example using current Candle Crete Sealer directions: start with a clean, dust-free sample. At 60–80°F, brush, sponge, or wipe on the product. Cover the inside base, walls, and rim evenly without leaving pools; follow the label for any exterior application.
The manufacturer allows a second coat after at least 30–60 minutes and specifies 3–4 days for drying and curing. Keep used liquid separate from the original bottle. Those times belong to this product; another sealer may require a different process.
Check for missed areas, runs, tackiness, or coating damage after curing. If the finish is not right, stop and ask the supplier rather than pouring wax over the problem.
7. Check for water leaks on a separate sample
If watertightness is part of your goal, ask the coating maker whether standing-water testing is appropriate. On a fully cured, dedicated sample, a practical workshop screening test is to fill to the intended liquid level with room-temperature water and place it on dry absorbent paper inside a tray. Record the level and inspect the base and walls over a stated period, such as 24 hours.
Watch for droplets, damp paper, darkening, or coating changes. A lower level by itself can also reflect evaporation. Record what you observed rather than declaring all jars waterproof. If it leaks, review defects and application with the supplier; simply adding unlimited coats is not a cure-all.
This is a screening method, not a standard or certification. A water test does not demonstrate resistance to hot wax, fragrance oil, or repeated candle heating. Keep the water-tested jar for evaluation; use a separate fully dry sample for your first candle.
8. Select the wax and wick, then calculate the fragrance
Use container candle wax and a wick recommendation suited to the actual inside diameter and wax. A wick chart is a starting point; your concrete vessel, fragrance, and coating still need testing. Center and secure the wick with an attachment system suitable for the sealed base.
Weigh fragrance instead of measuring spoonfuls. Example only: if the selected wax and fragrance instructions permit a 6% fragrance load measured against wax weight, 300 g of wax needs 18 g of fragrance, for 318 g combined. Do not assume 6% is right for every material. Check both suppliers’ limits.
Keep notes on the formula. Do not add dried flowers, herbs, glitter, or other combustible decorations to the candle. Those additions complicate the burning design and can create an additional ignition source.
9. Melt, fragrance, pour, and cure the wax
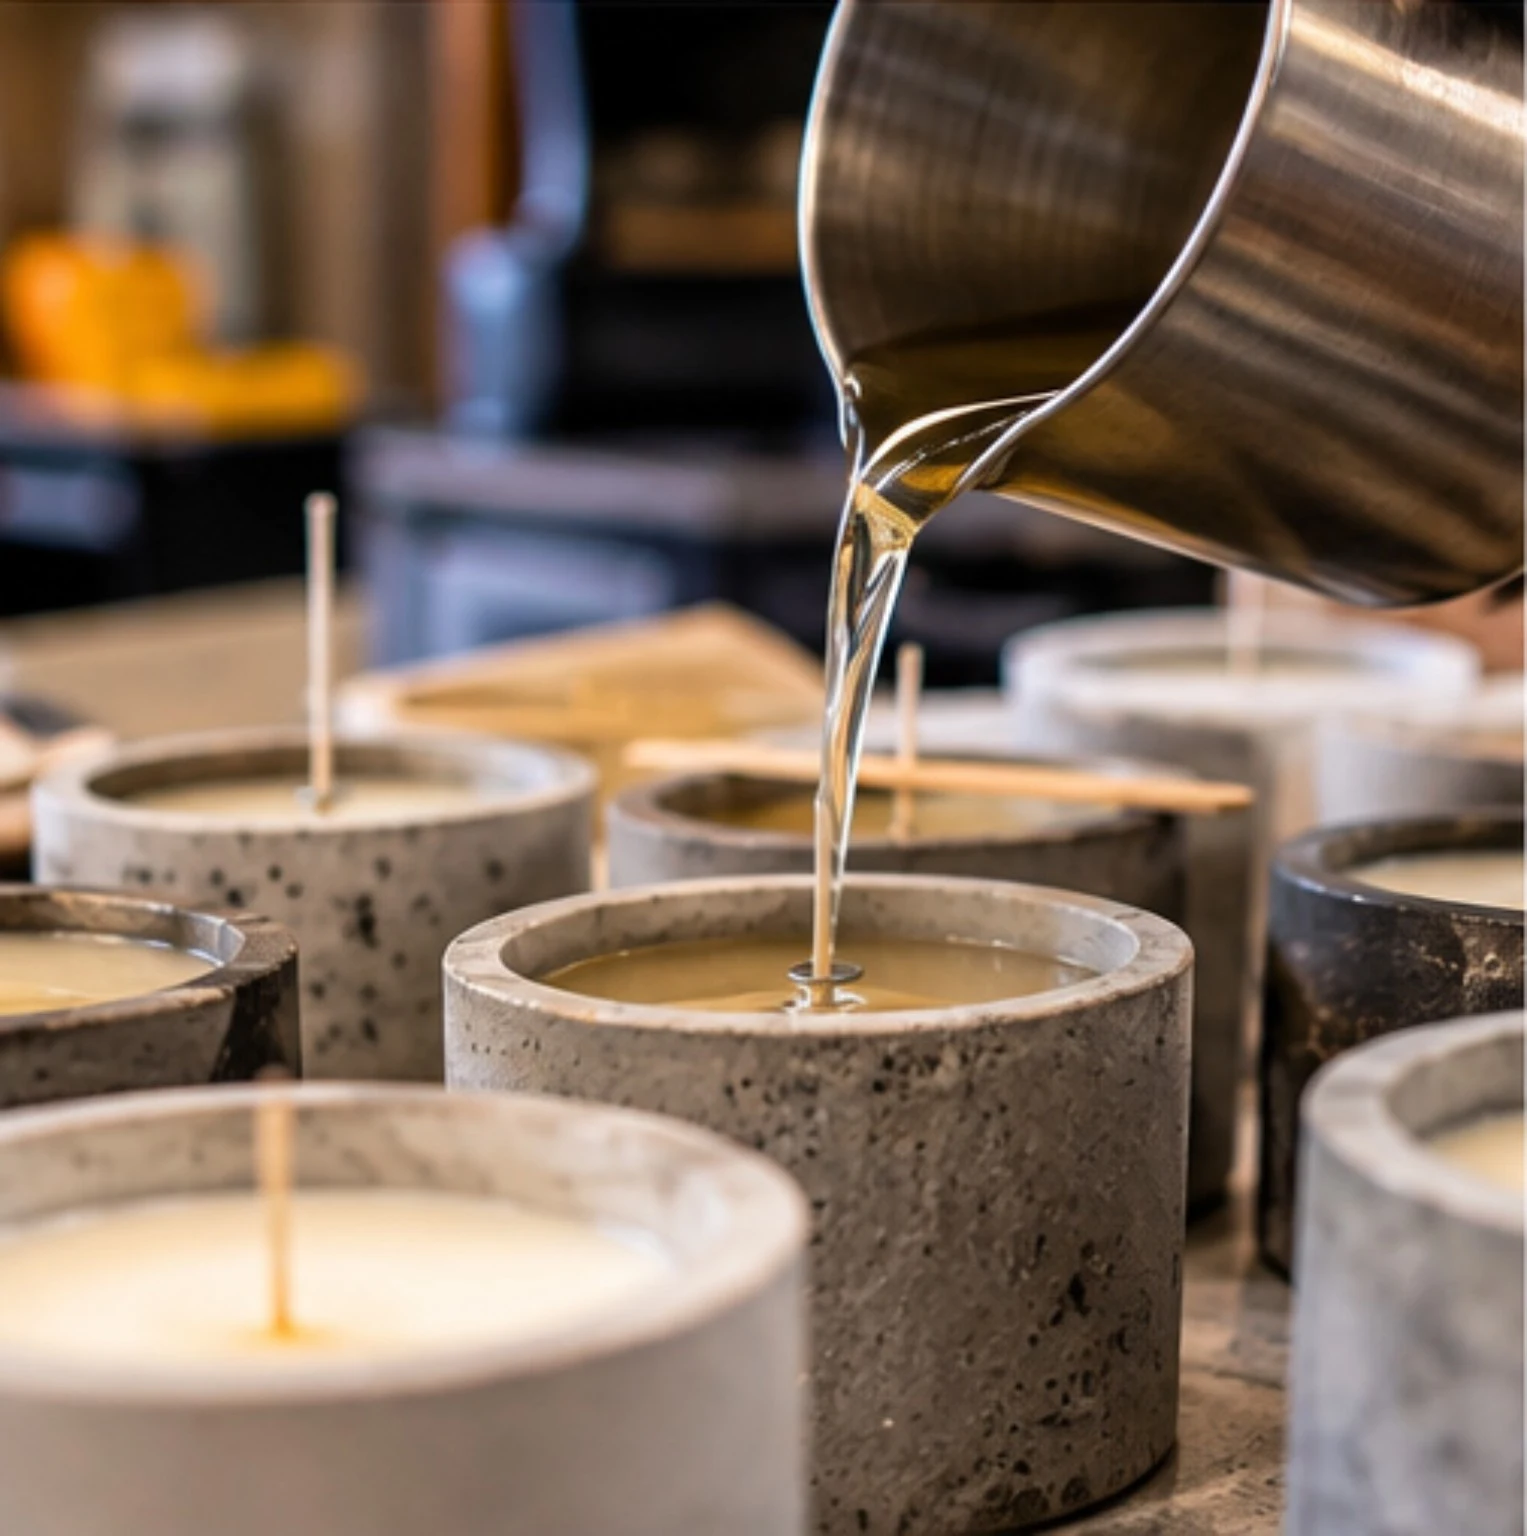
Heat the wax using controlled equipment suitable for it and monitor the temperature. Follow that wax’s instructions for melting, fragrance addition, mixing, and pouring. There is no single temperature that works for every soy, coconut, paraffin, or blended wax.
Pour into the prepared, fully cured and dry vessel, leaving the headspace required by the candle design. Hold the wick centered while the wax cools on a level, undisturbed surface. Keep water out of the molten wax. Let the candle complete the wax supplier’s cure before testing.
10. Burn-test the entire finished candle
Test more than the first attractive melt pool. Evaluate the candle from its initial burn through the recommended end of use, repeating supervised cycles and allowing it to cool between them. Follow a supplier protocol and the stricter instructions for your vessel and wick.
Track flame behavior, soot, melt pool, temperatures, wick movement, cracks, leaks, and coating condition. Stop a test if you observe a dangerous condition. Do not “power burn” for hours beyond the intended use, and never leave a test unattended.
CandleScience emphasizes testing every formula before gifting or selling. A different wick, fragrance load, pigment, sealer, or vessel size can require another test. Keep records and provide appropriate care instructions; a water-tight sample alone is not a finished candle validation.
Troubleshooting your first batch
| What you see | What to check next |
|---|---|
| Large voids or through-holes | Mix consistency, filling technique, vibration, and mold stability. Reject structural defects. |
| Cracked walls or base | Mix instructions, mold dimensions, curing conditions, and demolding technique. Do not hide cracks under sealer. |
| Tacky or patchy sealer | Substrate dryness, application thickness, temperature, humidity, and full cure. Contact the coating supplier. |
| Water seepage or dark spots | Application coverage and vessel defects; distinguish water-repelling claims from watertight performance. |
| Wax or fragrance staining | Compatibility and coating condition with the actual candle formula. A water test cannot resolve this. |
| Poor or unsafe burning | Wick, wax, fragrance, vessel, and coating as a complete design. Repeat the controlled test with a fresh sample. |
The short checklist before you call it finished
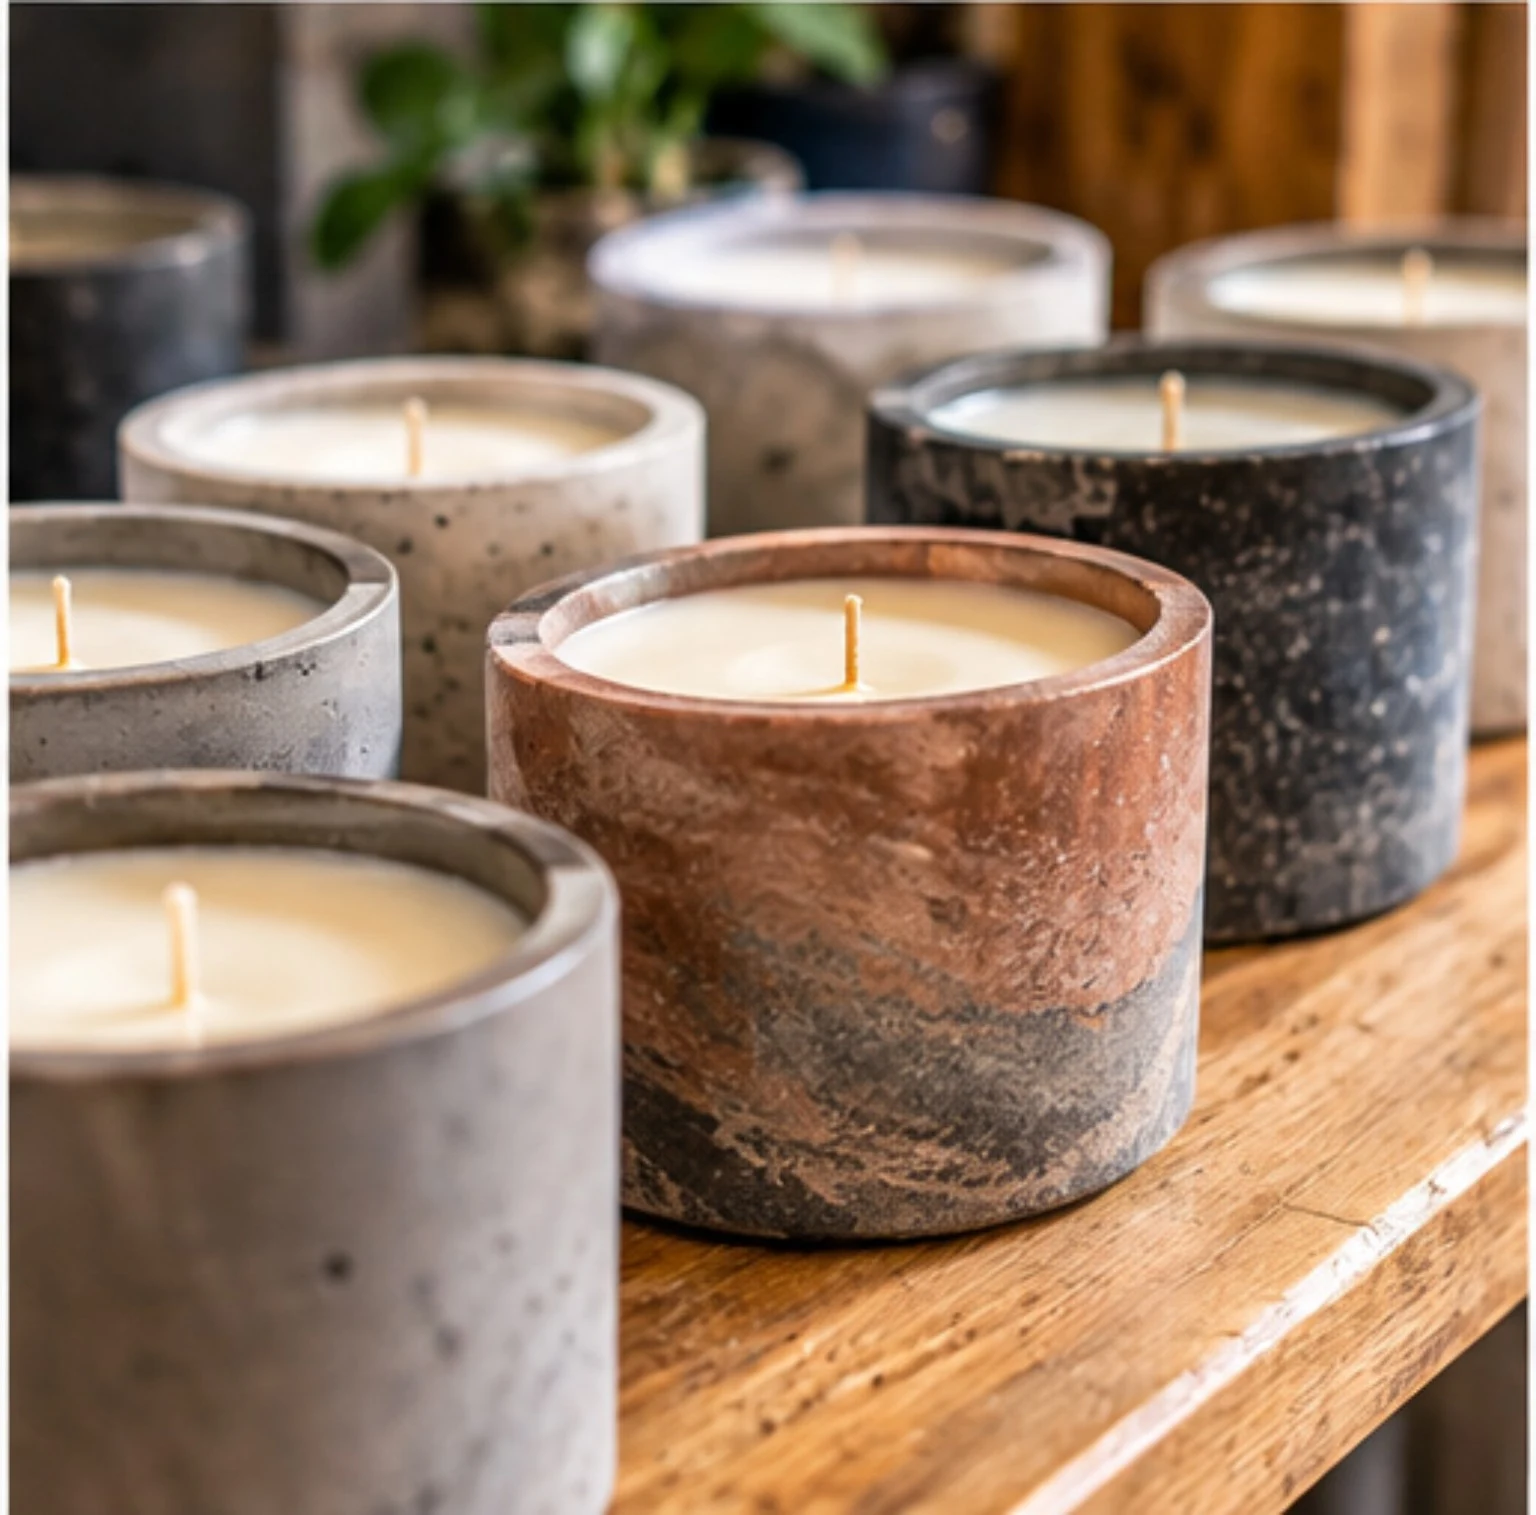
Sound jar. Correctly applied and fully cured coating. No unresolved leak or compatibility issue. Recorded candle formula. Completed burn tests. Clear care instructions. That is a stronger finish line than “the wax looks smooth.”
We hope this helps Evansville makers—and anyone learning the craft—understand the work behind a concrete candle. If you would rather enjoy a finished piece, explore SJS Homemade’s current candle and ask about the available vessels. Free local delivery in Evansville is available on orders of $20 or more.
PASS A LITTLE WARMTH ALONG